Purchase Button
When implementing your booking button, there are certain logic considerations based on the Payment Status when the Pay Monthly option is selected.
When to enable/disable the booking button?
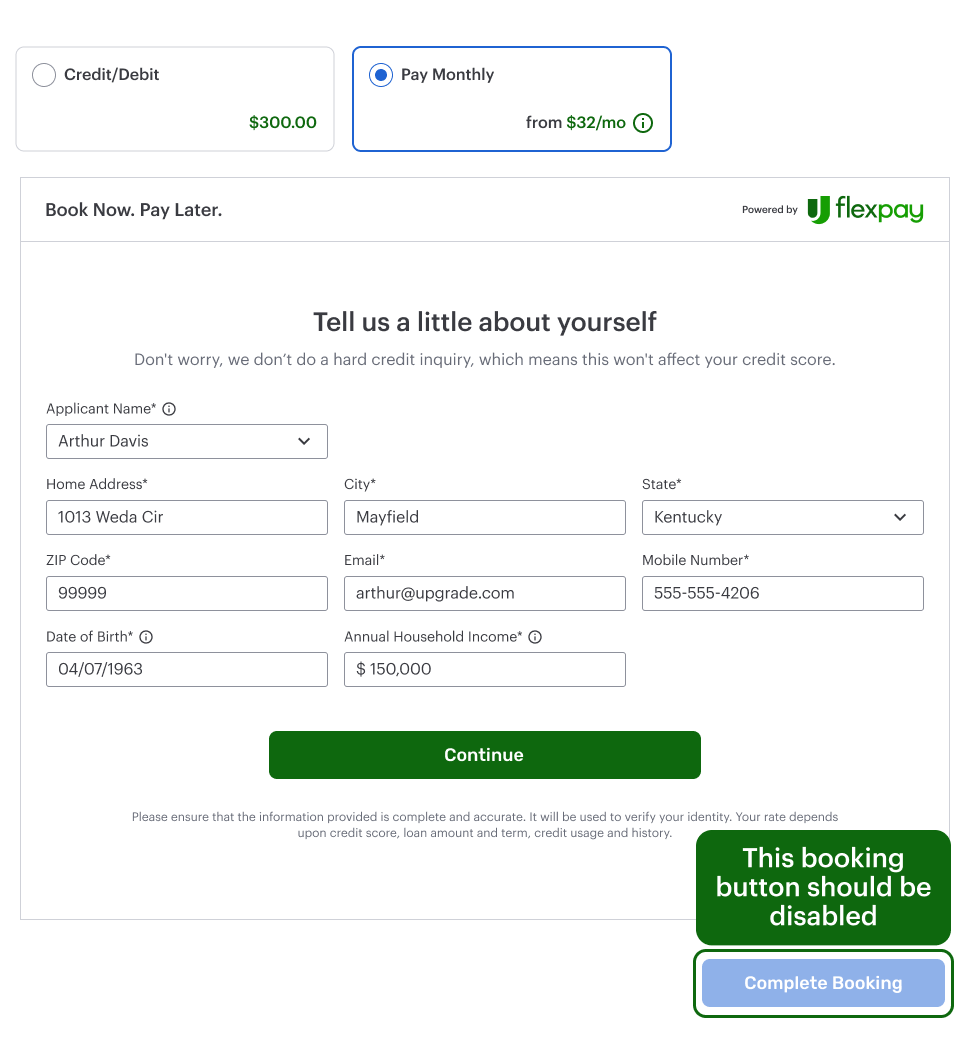
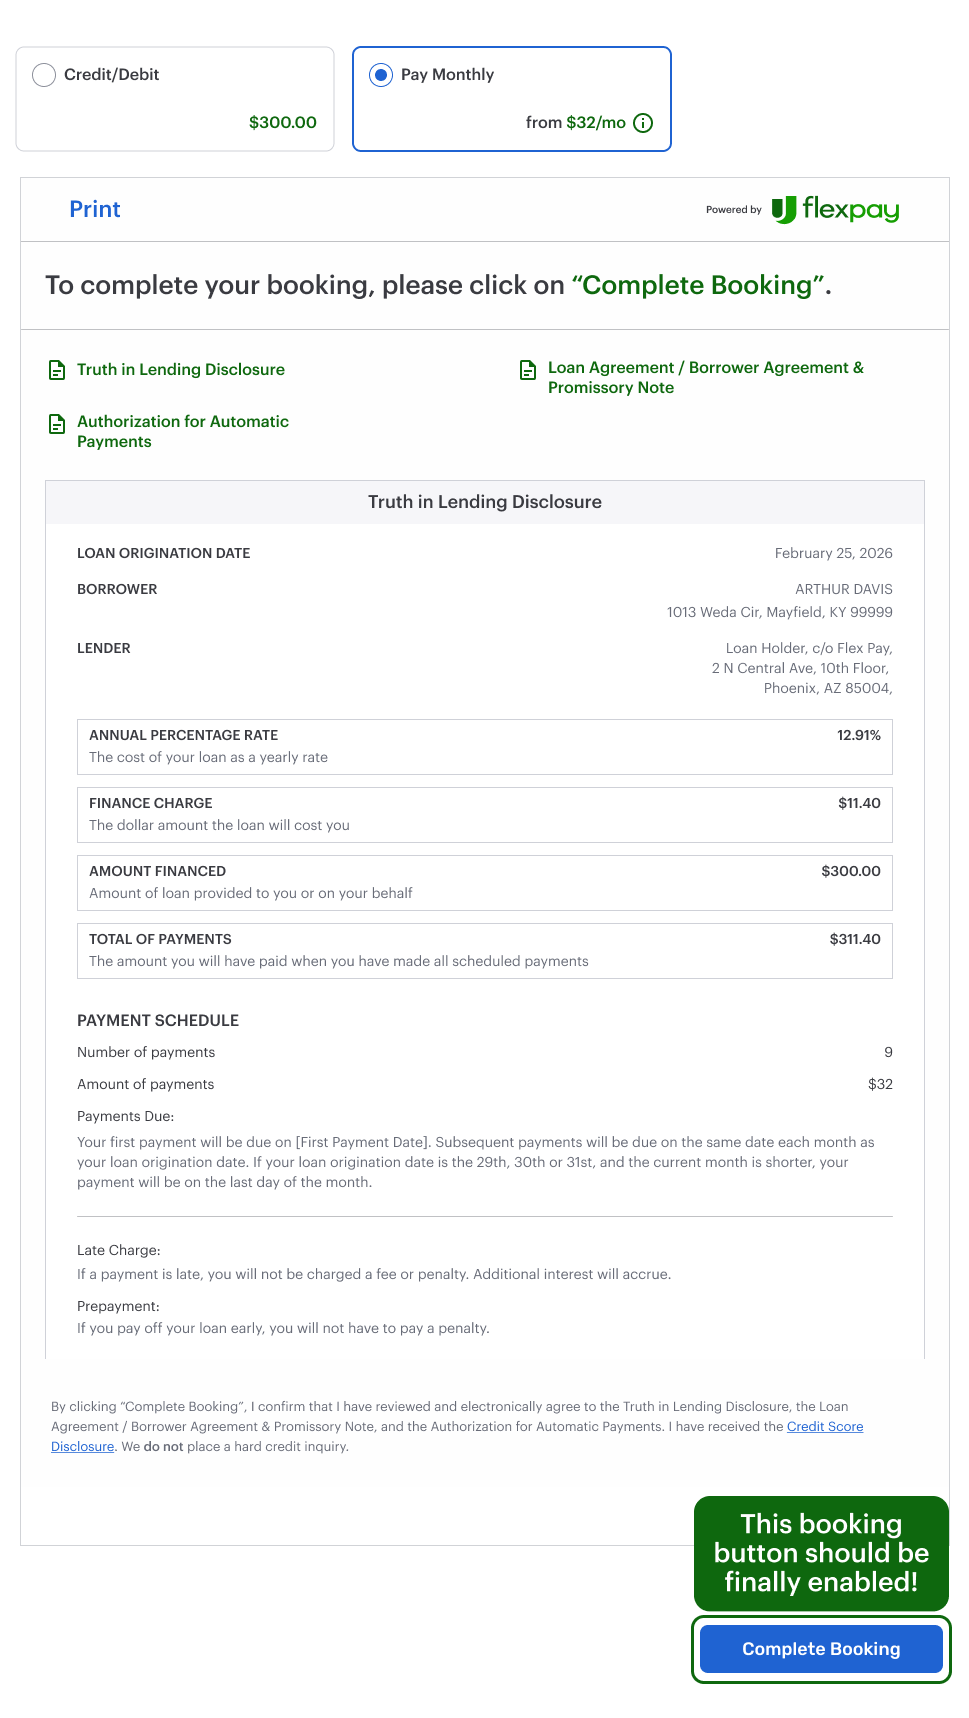
The purchase/booking button should remain disabled throughout the Flex Pay application flow, only enabled when TOKEN_AVAILABLE or TOKEN_RETRIEVED statuses are triggered.
⚠️ WARNING If the button is enabled on TOKEN_AVAILABLE and for some reason the OFFER_AVAILABLE status is triggered again, the button must be disabled.
See the below images for reference:
Purchase button styling
At this point, you are not required to change your original booking/purchase button; however, make sure to validate the enable/disable rules to ensure the button is active only in the valid cases. In addition, confirm that the booking button status is appropriate when selecting between the different payment options and the Pay Monthly.
Purchase button click handle
Once the user has selected Pay Monthly and the corresponding Uplift application was approved, a Flex Pay Payment token is available. The onChange handler will fire with a TOKEN_AVAILABLE status, signaling that the token can be obtained.
At this point, Flex Pay is ready to pay the partner and you are required to obtain the available token.
⚠️ WARNING Make sure to obtain the available token ONLY when the user clicks on the purchase button by calling window.Uplift.Payments.getToken().