Overview
📘 Note this section is only relevant for payment pages
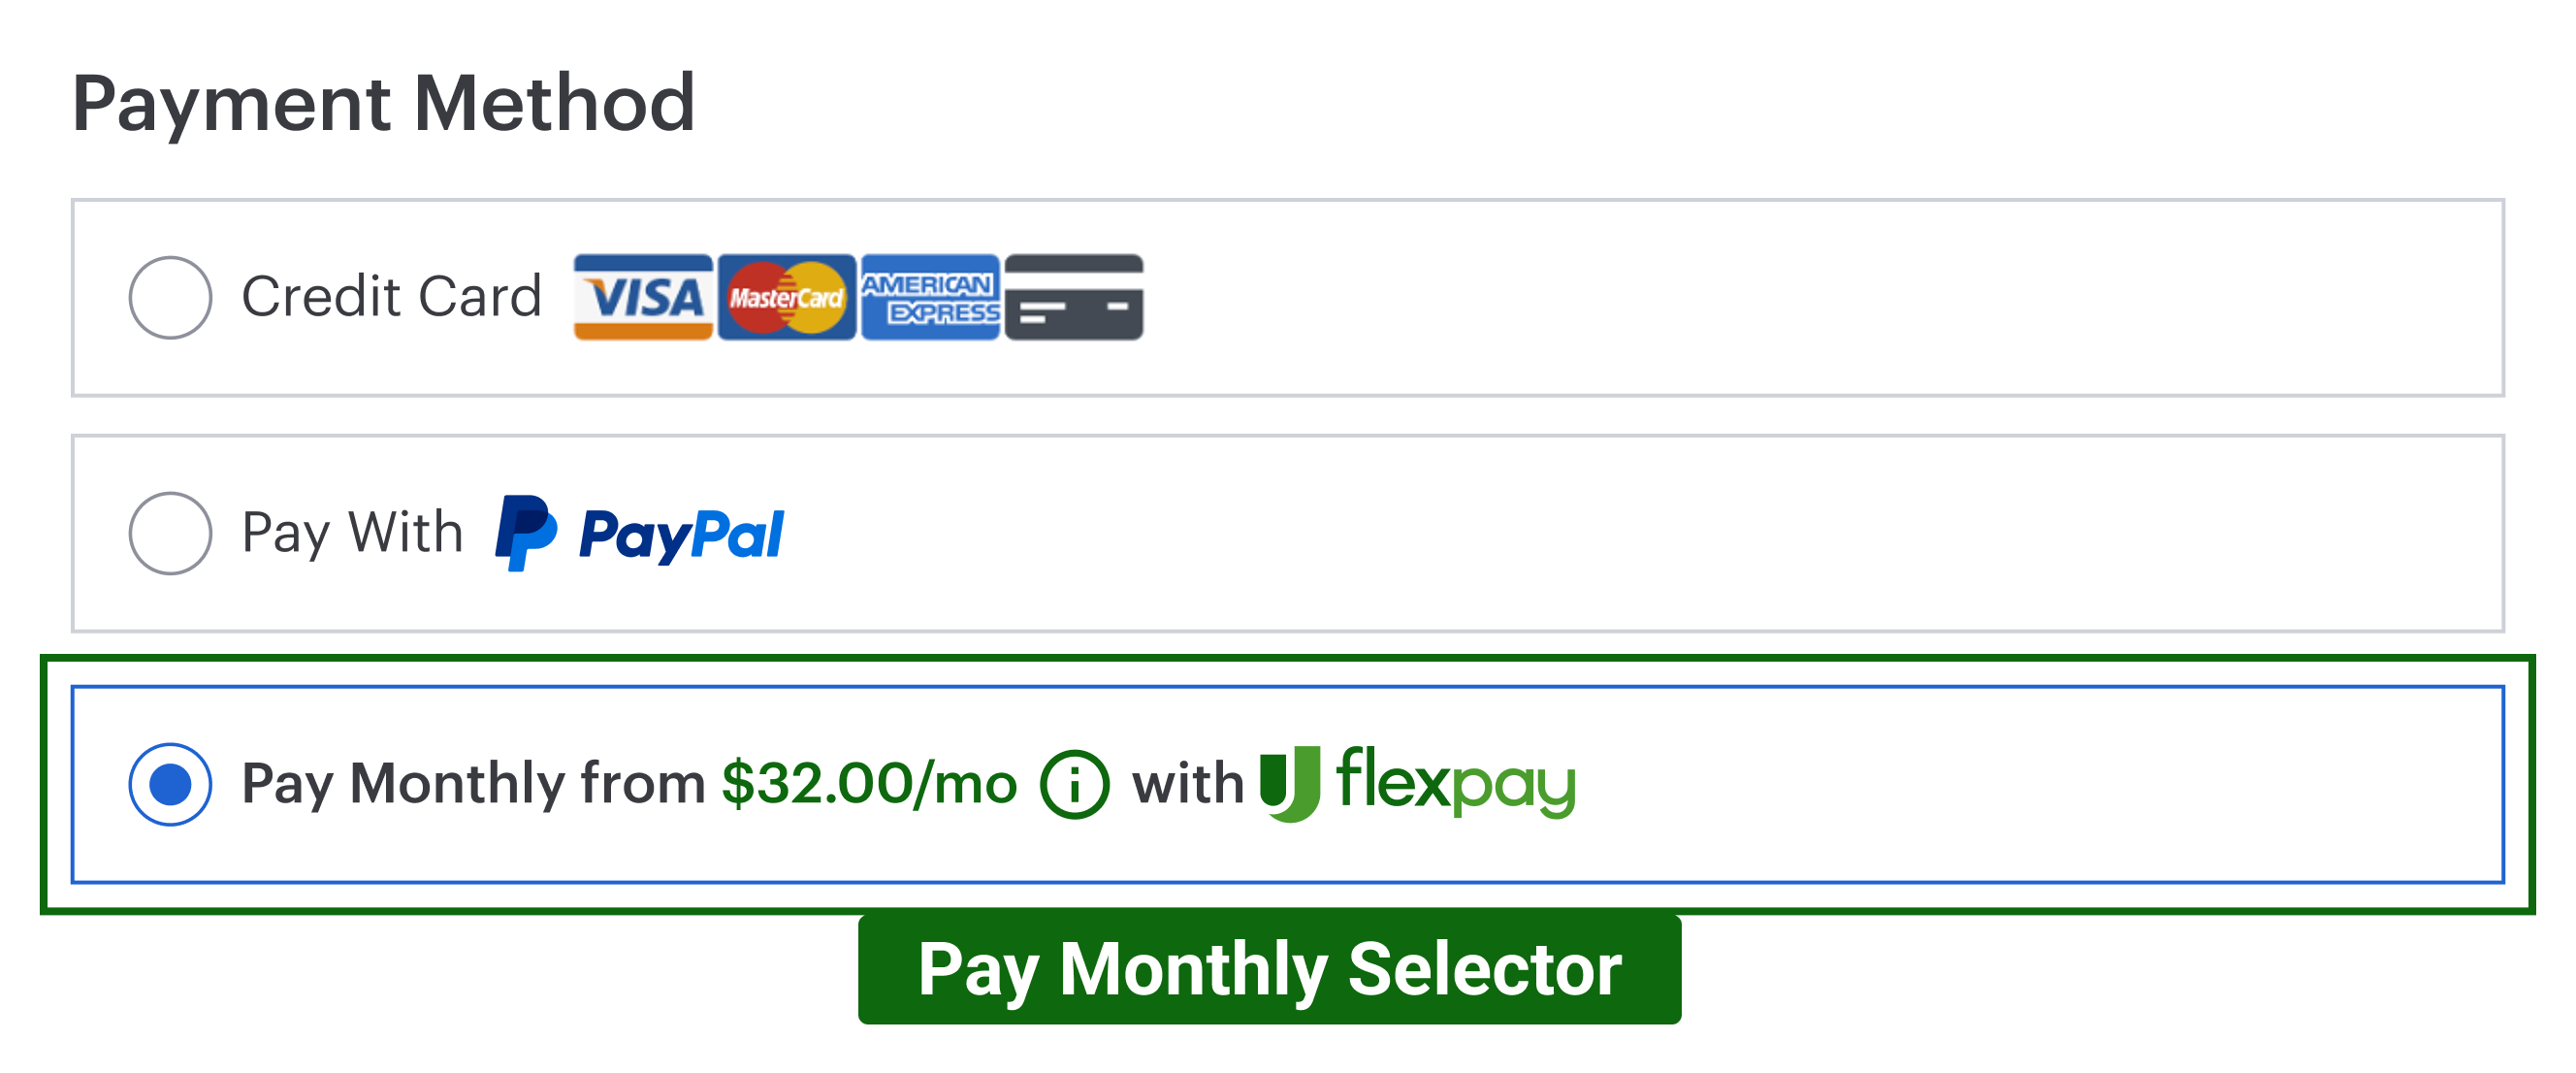
The Pay Monthly Selector is an embeddable HTML element that will allow the user to select Flex Pay as their preferred method of payment during payment flow. It is required that selectors display up-to-date prices to allow the customer to better differentiate among the different payment methods. Below is an example of such an element.

Note that if your website doesn’t already contain Payment Selectors for different payment methods, then you will need to implement this capability to allow customers to select their preferred payment method. However, if your flow already contains the Payment Selector component, you can simply add Uplift as a new option of payment in your current HTML structure as in the example below.

The Pay Monthly Selector is composed of 3 required elements as shown in the image below.
- Pay Monthly Selector Container
- “Pay Monthly” wording
- From Pricing Node

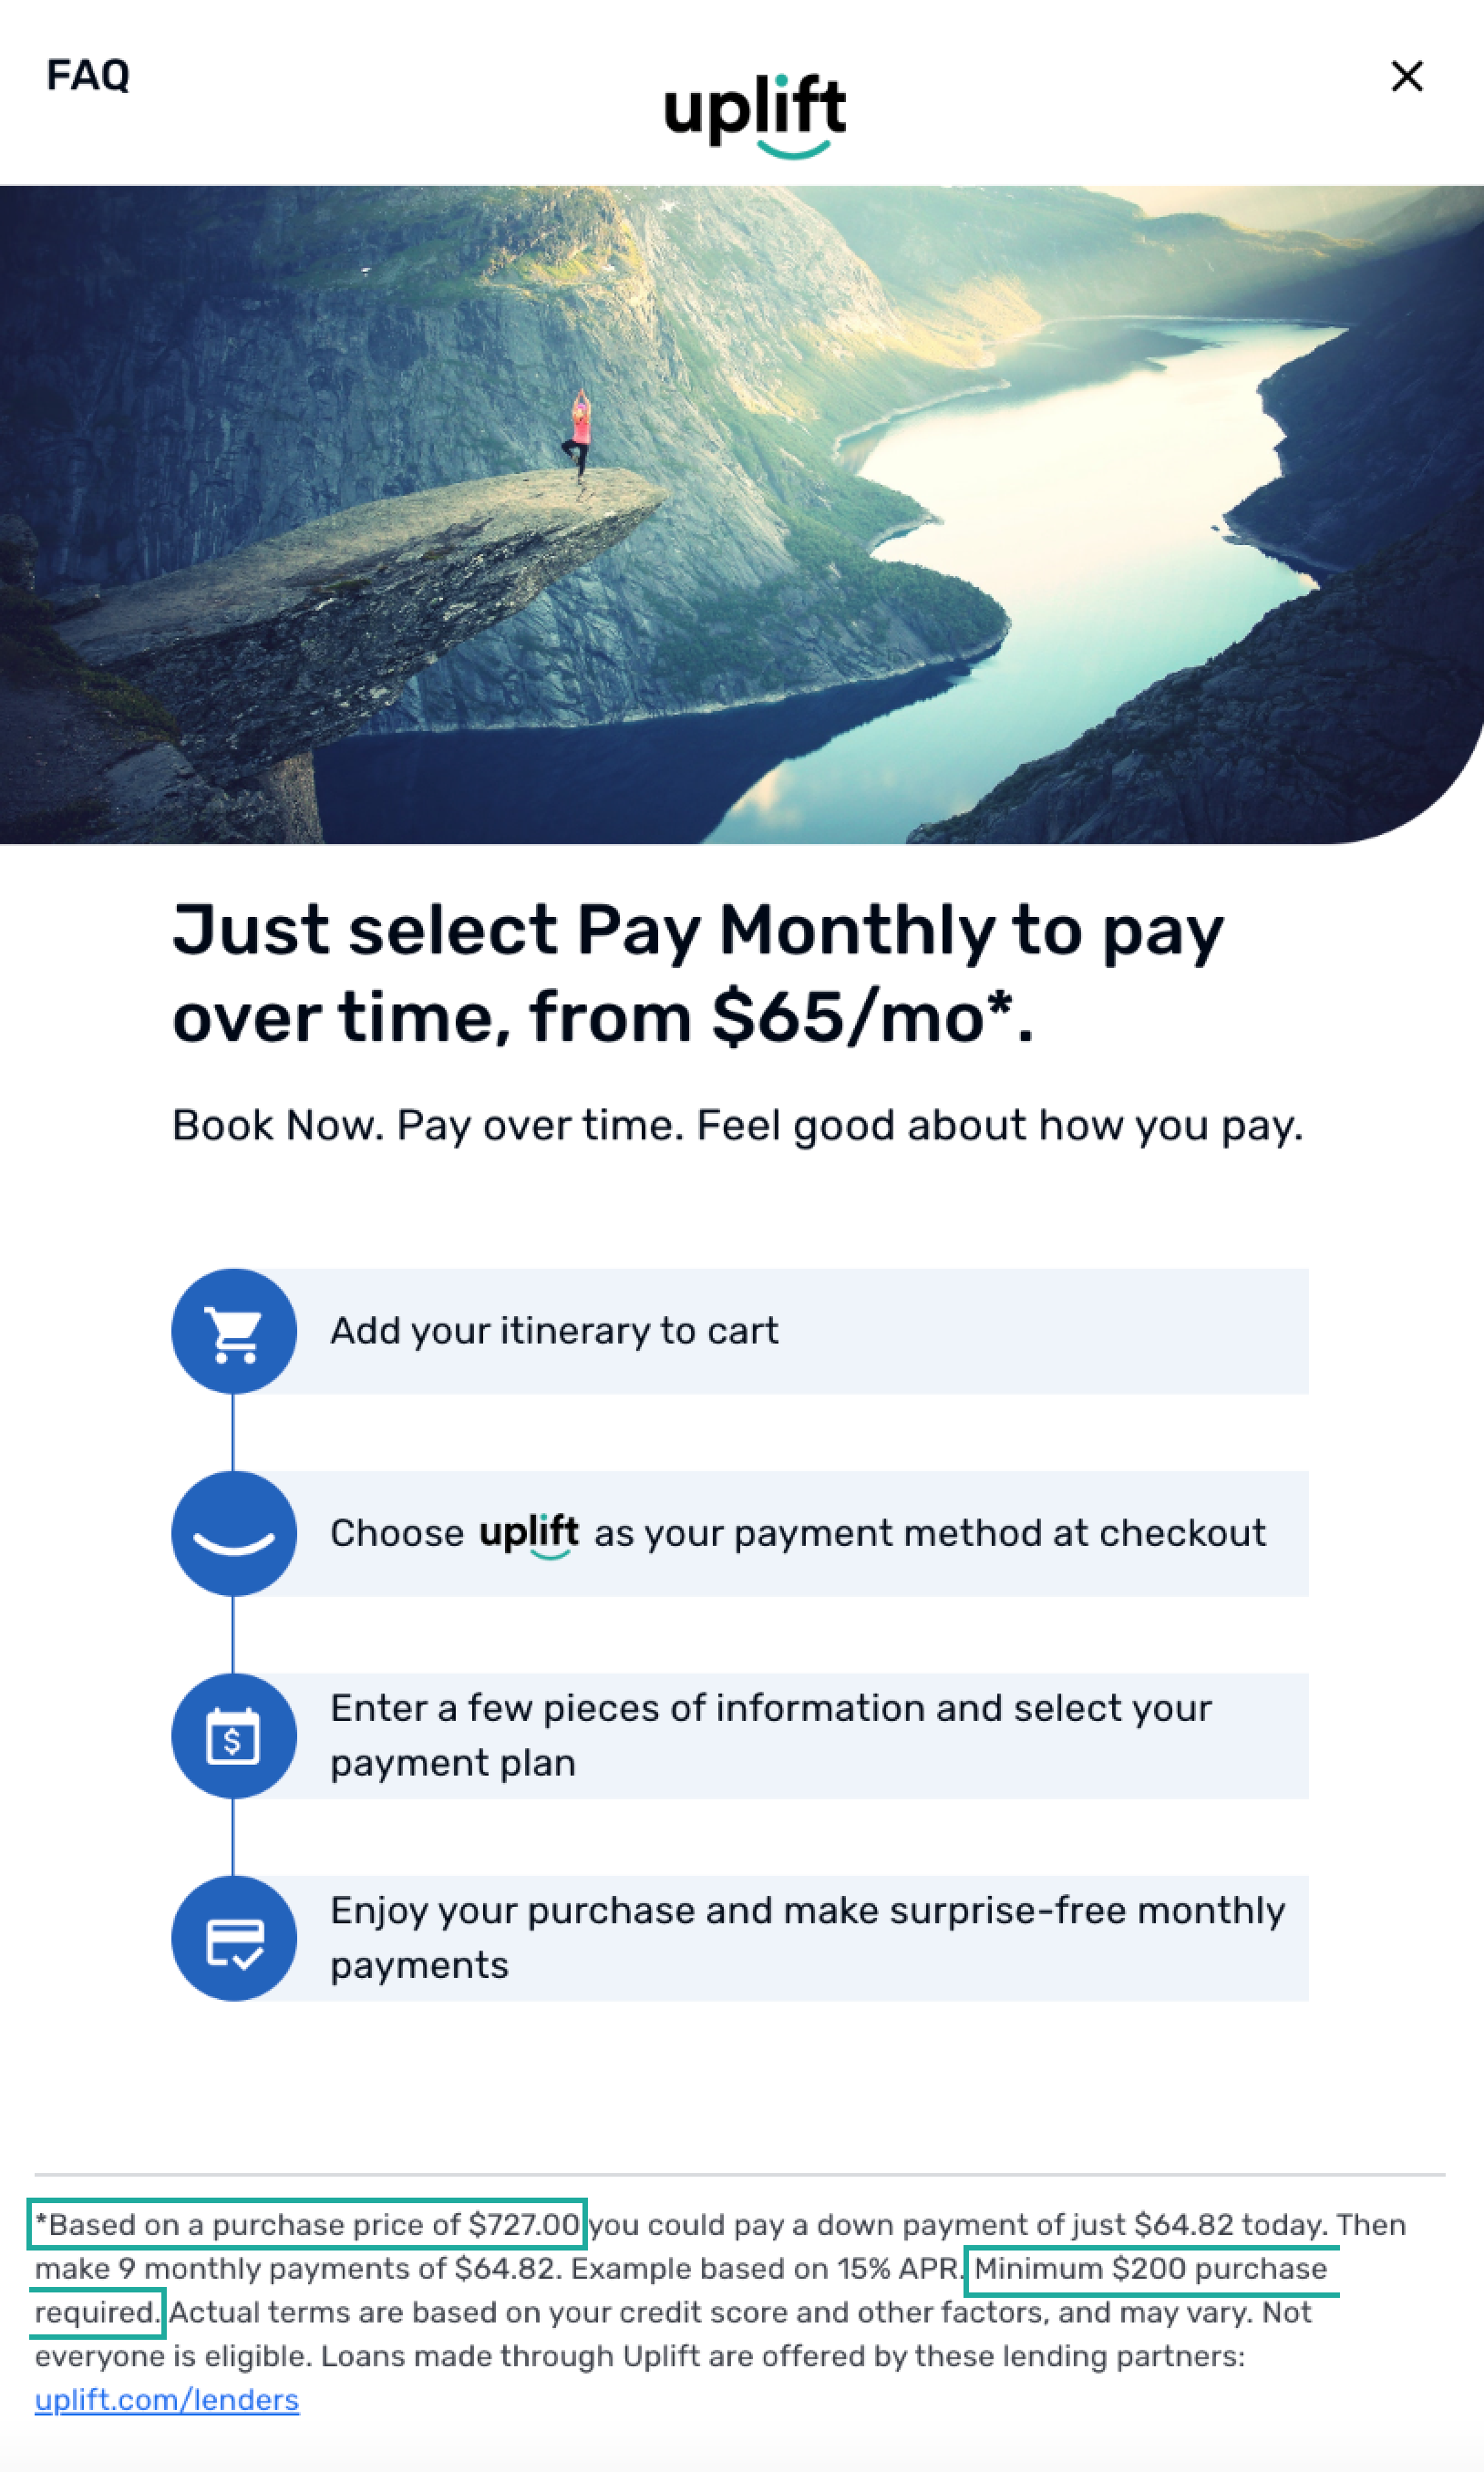
When a Pay Monthly Selector is clicked, a window containing the Flex Pay application (which is the Flex Pay iFrame) is displayed. This section provides details to implement the Pay Monthly Selector; you can find additional details on the iFrame functionality here.
Configuration
Add the following HTML code snippet to enable a Pay Monthly Selector.
<div id="up-pay-monthly-selector">
  <span>Pay Monthly</span>
  <span id="up-pay-monthly-selector-from-pricing"
    style="display: none; cursor: pointer;"
    data-up-price-type="total"
    data-up-price-value="72700">
    from
    <span data-up-from-currency-unit-major=""></span>/mo
    <span data-up-tooltip="">
      <!--Replace with your preferred icon/svg-->
    </span>
  </span>
  <span id="up-offer-not-available" data-up-error="" style="display: none; ">
    NOT AVAILABLE
    <span data-up-tooltip="">
      <!--Replace with your preferred icon/svg-->
    </span>
  </span>
</div>
We have provided a default tooltip (icon: ), in order to use it just copy the script below and place it in the corresponding spot in the Pay Monthly node script (above).
//default svg informational icon
<svg stroke="currentColor" fill="currentColor" stroke-width="0" viewBox="0 0 1024 1024" height="1em" width="1em" xmlns="http://www.w3.org/2000/svg">
    <path d="M512 64C264.6 64 64 264.6 64 512s200.6 448 448 448 448-200.6 448-448S759.4 64 512 64zm32 664c0 4.4-3.6 8-8 8h-48c-4.4 0-8-3.6-8-8V456c0-4.4 3.6-8 8-8h48c4.4 0 8 3.6 8 8v272zm-32-344a48.01 48.01 0 0 1 0-96 48.01 48.01 0 0 1 0 96z"></path>
</svg>
📘 On payment pages, while the pop up modal is configured using the data-up-price-value attribute, the actual offer is based on the orderInfo.order_amount. Thus it is mandatory to use the same value for both data-up-price-value attribute and orderInfo.order_amount on a payment page.
⚠️ It is vital to follow the HTML structure as above or the Flex Pay SDK won’t work as expected.
Key callout for the Pay Monthly Selector:
- Display should be set as none for
up-pay-monthly-selector-from-pricingandup-offer-not-availablespans keep “display” set as none; we will be reviewing how to handle showing and hiding this with the Uplift iFrame setup in the following step by step guide -
data-up-price-valueshould be cents; if you don’t convert the price to cents you will see a mismatch between offers -
data-up-price-typeshould be total -
data-up-from-currency-unit-majoris utilized by the Uplift library to populate monthly pricing offers, therefore leave it as shown in code snippet above -
data-up-comparison-typeshould never be included - The
up-pay-monthly-selectorshould be always displayed - As you already noticed, there is a new element, the
up-offer-not-availablespan; this element will be shown to the user when the offer is not available and by hovering over the icon a “reason” will appear
Styling Guidelines
You can follow any styles and customization that best matches your payment page. However, make sure to validate that the Pay Monthly Selector contains all the required elements mentioned above.
- When you display the
up-pay-monthly-selector-from-pricingspan, your selector should look as below.
- If you hide the up-pay-monthly-selector-from-pricing and display up-offer-not-available, then the selector now looks as below.

French translations
Please use the following image as reference if you require a French translation for the Pay Monthly Selectors.
- Offer Available

- Offer Unavailable

Step-by-step Guide (Recommended)
Note that this testing example is only relevant for a payment page and thus all initialization and other configurations should be set up accordingly.
- Ensure you have first successfully integrated with Flex Pay including loading the Uplift Payments library, initializing the library, creating an OrderInfo object, loading the object to the Flex Pay platform, and defining the callback handler on
myOnChangeCallback. You can refer to the step-by-step guides in each of the Flex Pay API integration steps to complete this setup. - Include the HTML code as shown below to embed the Flex Pay payment option within the payment selector HTML used on your site in order to display Flex Pay as a new payment method.
<!--  Payment selector HTML code -->
<div id="up-pay-monthly-selector">
  <span>Pay Monthly</span>
  <span id="up-pay-monthly-selector-from-pricing"
    style="display: none; cursor: pointer;"
    data-up-price-type="total"
    data-up-price-value="72700">
    from
    <span data-up-from-currency-unit-major=""></span>/mo
    <span data-up-tooltip="">
      <!--Replace with your preferred icon/svg-->
    </span>
  </span>
  <span id="up-offer-not-available" data-up-error="" style="display: none;">
    NOT AVAILABLE
    <span data-up-tooltip="">
      <!--Replace with your preferred icon/svg-->
    </span>
  </span>
</div>
<!-- Payment selector HTML code -->
Note we have provided a default icon, if you want use it please refer to the script in the
Configuration section above. - Then refresh the page, the Payment Selector should look similar to the image shown below.

- Now to understand the Payment Selector functionality in more detail, let’s go through some of the potential scenarios:
- Offer is not available. Update
orderInfo.order_amountto 1000 ($10.00) in thebuildOrderInfofunction. In addition to this, update your callback handler as shown below to hide the Pay Monthly Selector in case an offer is unavailable (status: OFFER_UNAVAILABLE) and show the corresponding not available node.OFFER_UNAVAILABLE: function(){ //Uplift offer is not available for this customer document.getElementById("up-offer-not-available").style=”display: block”; document.getElementById("up-pay-monthly-selector-from-pricing").style=”display: none”; }
On refreshing the page, you should see the following message when you hover on the information (i) icon.
.png)
- Offer is available. Update
orderInfo.order_amountto 70000 ($700.00) in thebuildOrderInfofunction. In addition to this, update your callback handler as shown below to show the Pay Monthly Selector in case an offer is available (status: OFFER_AVAILABLE) and hide the corresponding not available node.OFFER_AVAILABLE: function(){ //Uplift offer is not available for this customer document.getElementById("up-offer-not-available").style=”display: none”; document.getElementById("up-pay-monthly-selector-from-pricing").style=”display: block”; }
When you refresh the page, you should see a valid Uplift Payment Selector, when you hover above the information (i) icon you should see an information modal as shown below.

📘 Note however, that the estimated pay monthly offer is on the basis of an
amount of700.00. This is because of the value in our Pay
Monthly HTML, specifically thedata-up-price-value="72700". This was the amount used in the HTML example above.On non-payment pages, the From Pricing nodes’
data-up-price-valueattribute determines Flex Pay’s Pay Monthly offer to the customer.However, on payment pages, while the modal is configured using the From Pricing nodes
data-up-price-valueattribute, the actual offer is based on theorderInfo.order_amount. Thus it is mandatory to use the same value for bothdata-up-price-valueattribute andorderInfo.order_amounton a payment page. - Offer is available but wrongly configured to show as not available. The user experience will be similar to when an offer is not available. However, note that since we have a valid
OrderInfoobject, with a validorder_amount(70000 equivalent to $700) technically there should be an offer available, however, wrong configuration can result in the offer not being displayed. An example of this can be done by updating the callback handler with the following code snippet:OFFER_AVAILABLE: function(){ //Uplift offer is not available for this customer document.getElementById("up-offer-not-available").style=”display: block”; document.getElementById("up-pay-monthly-container").style=”display: none”; }
When you refresh the page, the Payment Selector should look similar to the image below.

If you hover over the information (i) icon, you will notice an error message similar to the one in the image below. This is because, despite there being a valid offer available, you have configured the node to hide the Pay Monthly selector resulting in an unhandled error message.

Note that is just an example scenario to showcase a potential wrong configuration and should be avoided outside this example.
- Offer is not available. Update